Tips & Tricks To Setting Up Your De'Longhi La Specialista
Here are a few do's & don'ts from the De'Longhi team to help you get the best out of your machine, and avoid any easy mistakes too!

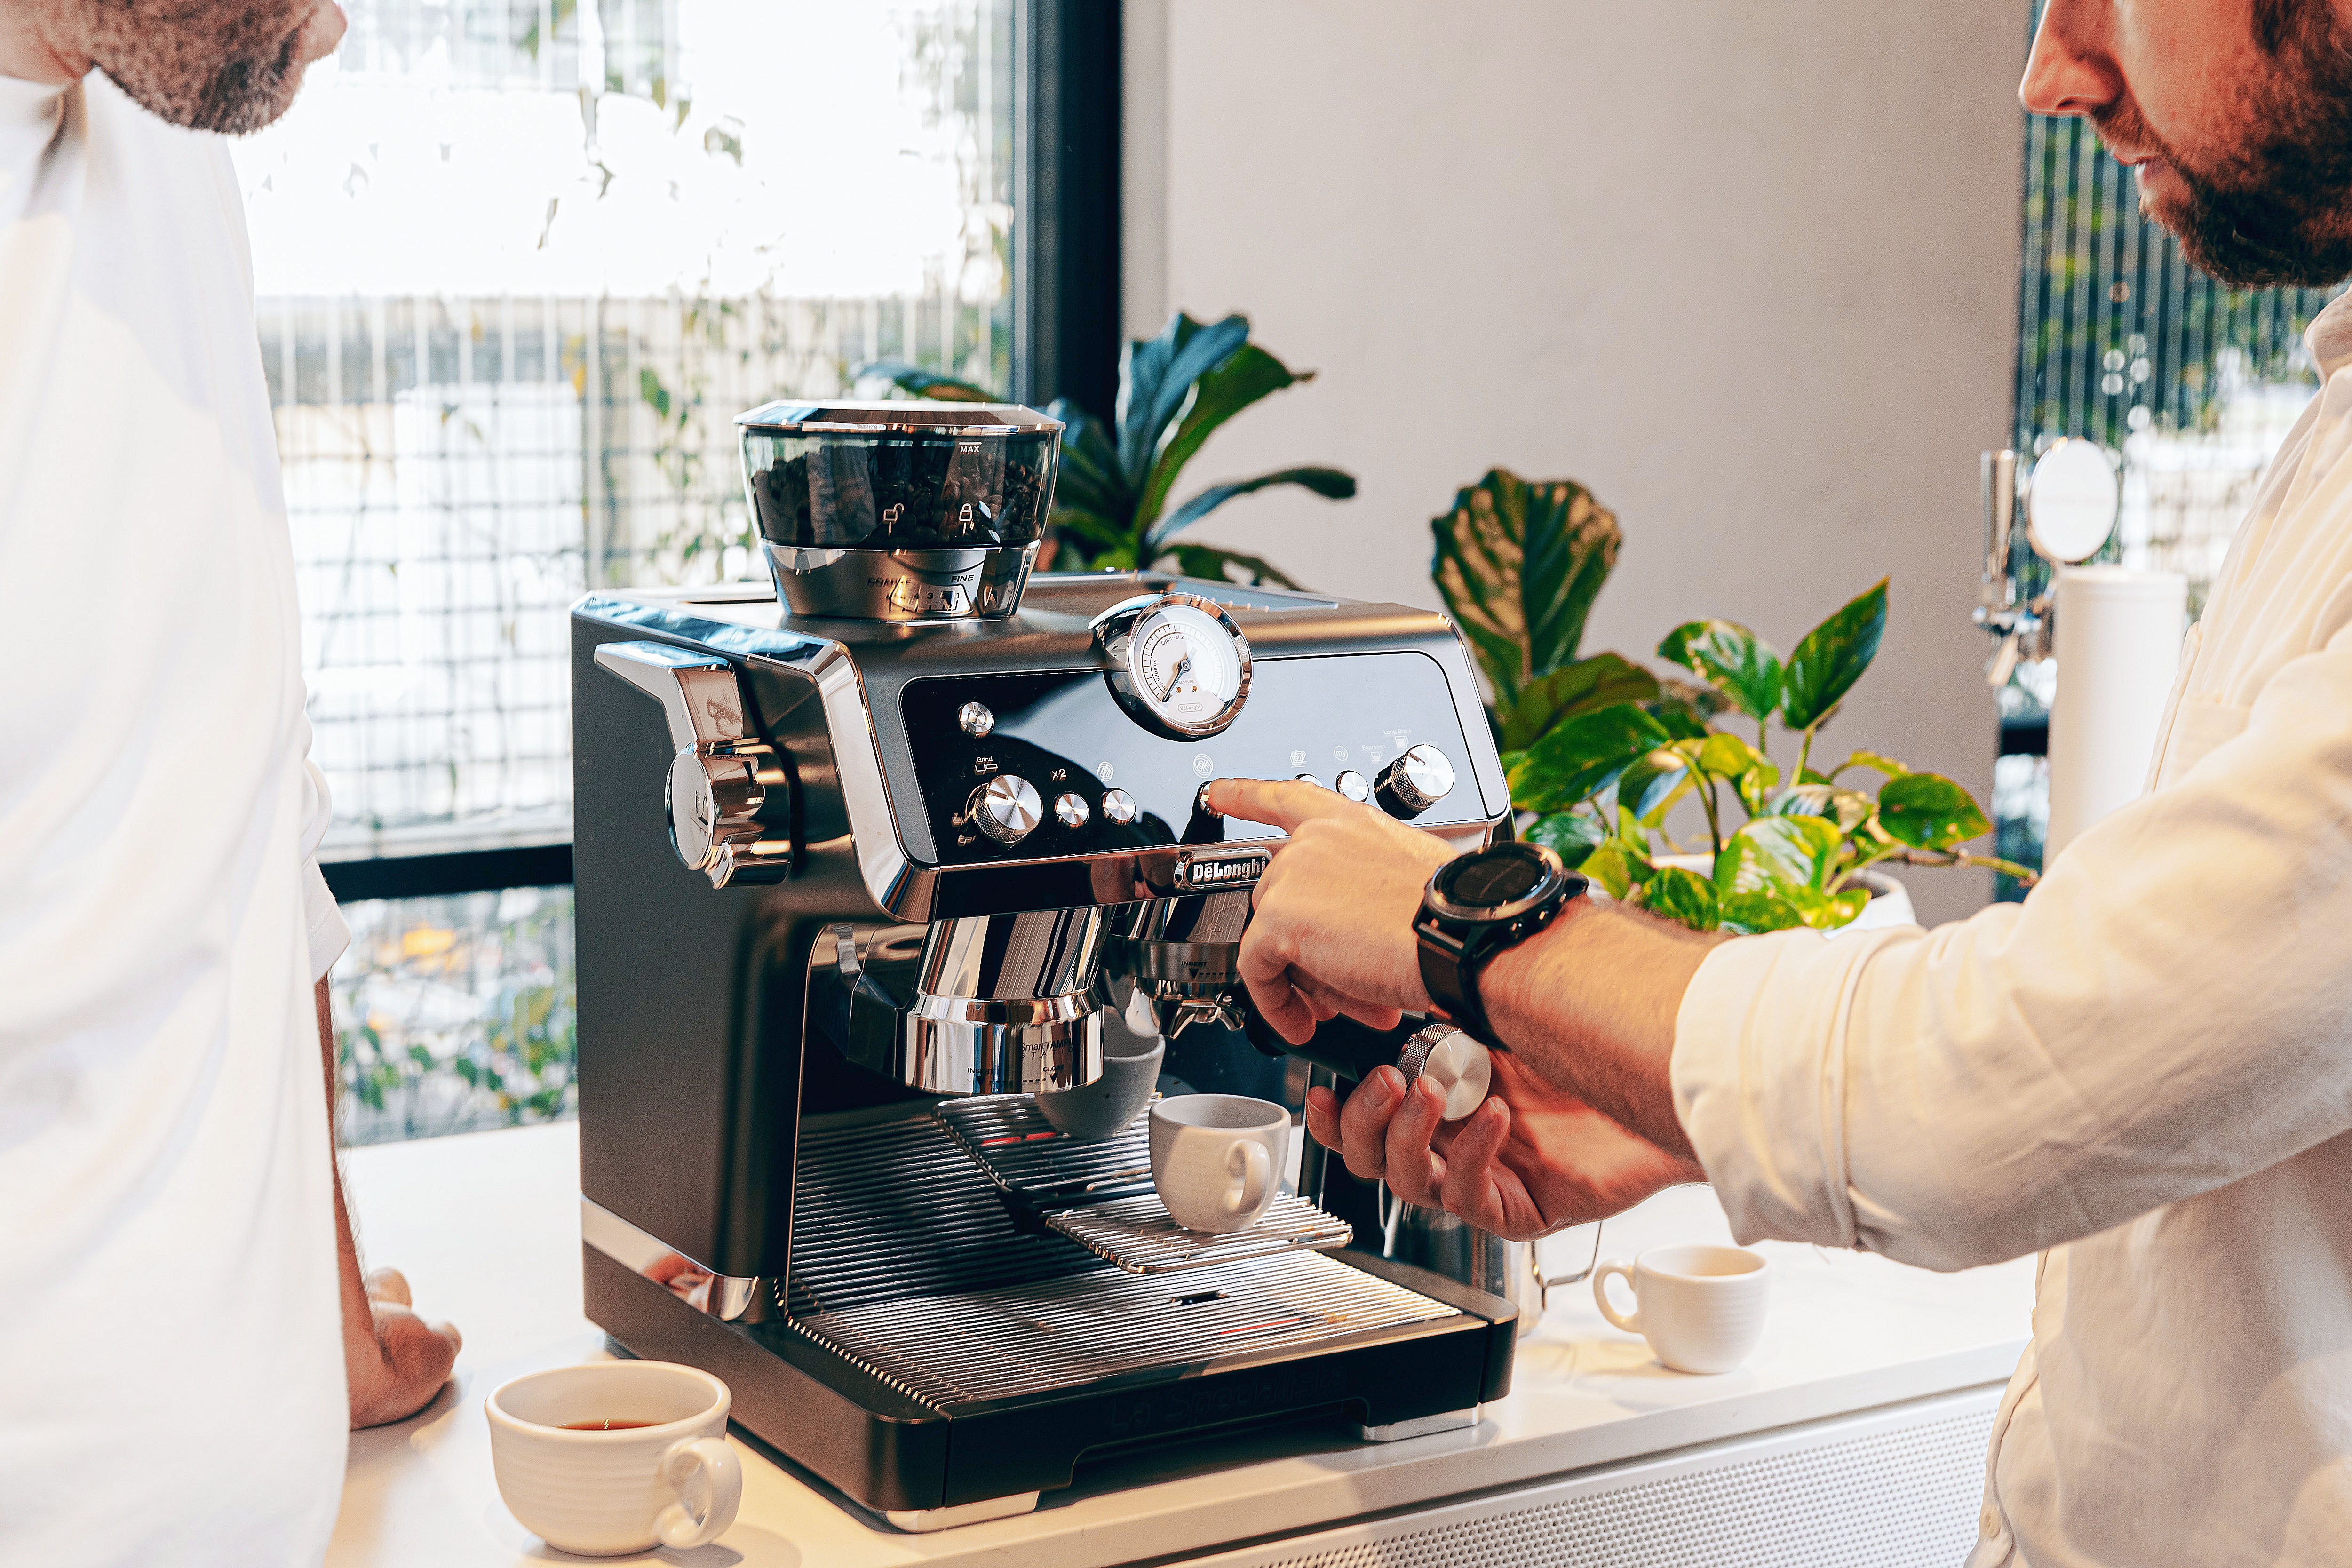
1. Attaching the Bean Container
Please - do not add beans to the machine until this is attached correctly.
There are two alarm signals for the Bean Container.
The Flashing bean sign - the bean container is not installed correctly.
The Solid Bean light - No Beans in container.
To ensure the container is locked in correctly, the locked padlock on the front of the bean container should line up with the arrow in front of the bean container. This is quite hard to do when knew, make sure you push against the resistance until the container actually clicks in and the light stops flashing. Anytime you have to remove the bean container make sure there are no beans in container. Run them through before unlocking the container from the top of the machine. Also only place the beans you require for that coffee or two so your beans will be fresher and you won’t need to adjust the settings as often.
2. Priming the machine
Priming the Machine is important at the beginning of use to make sure the water lines are full of water. Remember this action anytime you fill the water tank and the water alarm does not turn off as there may be an air bubble in the line.
3. Setting the dose
Make sure you don’t use x2 button unless you have the x2 filter basket in the handle. Coffee beans are so variable in size. If the dose overflows even on the minimum setting, turn x2 off to have a bigger range to being the dose down to the level you need. TIP – the best dose setting for most coffees is to the top of the dose nodule.
Check the dose by grinding coffee and tamping then remove the filter holder and see where the coffee lines up to the nodule. If not correct, discard the ground coffee, adjust the dose dial up in “small” increments and then repeat the process. Once you have the right dose test the espresso to see how it is pouring before you adjust the grind setting.
4. Adjusting the grind
Always ensure the grinder is activated when changing the grind. This is for the most effective change to occur and to ensure beans do not get stuck in the conical burrs. If you have gone to the lowest grind setting and the coffee is pouring too fast or tastes under extracted consider the following:
- The dose may not be high enough, adjust the dose so that the coffee is just above the dose nodule.
- Tamp more than once and when removing the filter holder keep the tamp handle held down, this polishes the top of the coffee just like the Baristas do and will create an even more consistent tamp.
- Check the filter basket and tamp are not wet when you place the filter holder into the tamp station. This can cause coffee to be grabbed off the top and the true dose you have set will not occur causing under extraction.
- Change the temperature of the coffee to the high setting. Some coffee bean blends need a hotter temperature to help extract the best flavours.
5. Texturing Milk
Use the milk jug provided with the machine to ensure optimum m ilk texturing. Only fill the jug to the bottom of the spout. If using a larger jug you may find the temperature of the milk is not hot enough for you.
The steam wand is designed to texture thick milk or heat flatter creamy mil by moving the want adjustor up or down. This wand works differently to a typical steam wand as you need to sink it deeper into the milk. Typically sinking the end of the wand about 1cm into the milk will allow the milk to texture. You don’t need to move the jug too much, just let the wand do the work.
The wand will need cleaning regularly, not just on the outside with a chux. The best way to clean the wand is to twist and unlock the wand pull it off and rinse this and the rubber part of the steam wand OR place some tap water into the steam jug and place the steam wand into the water turn on and let the water clean the wand. If you find you have lost pressure or the milk is making too many bubble makes sure the steam wand rubber insert and the metal surround are attached correctly and locked into place.
6. Cleaning
The grinder chute should be cleaned daily or at least twice a week. This will ensure there is no build up of coffee. Although coffee grounds look and feel dry, they are incredibly sticky.
The brush provided with the machine can be used to access the chute from behind the tamp under the tamp station and through the chute in front of the bean container. The trap door can be opened by pushing down on the left side next to the arrow.
Don’t put the Bean Container, filter holder or baskets in the dishwasher as this may affect the coffee taste. The drip tray is dishwasher safe.
Leave a comment
This site is protected by hCaptcha and the hCaptcha Privacy Policy and Terms of Service apply.